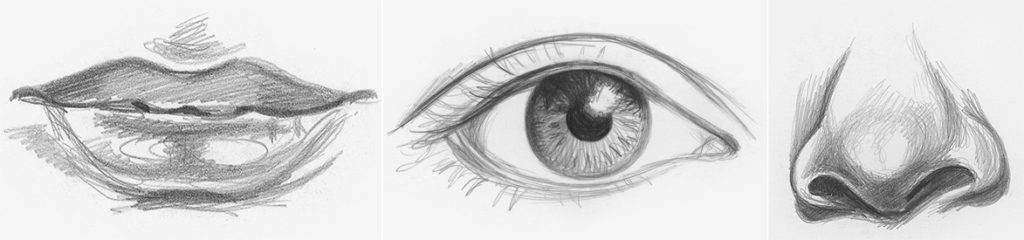
Drawing an eye is the last facial feature to be able to draw a face portrait with all what we learn from the steps before!
However, there are many components to the eye and all of them are important. Here are a few hints to help you:
- The iris and the pupil are perfect circles when the eye is looking straight at you. If turning away or looking up and down, they become ellipses.
- The pupil is always perfectly centered within the iris.
- The pupil is the darkest part of the eye. Fill it in as dark and smooth as possible. Leave an area for a catch light.
- The catch light should be half in the pupil and half in the iris. If the photo shows it blocking the pupil, move it over.
- The lower lid thickness below the iris is very important. Never just draw a line under the eye. This small detail gives the eye dimension.
- Patterns within the iris will vary depending on the color of the eye and resemble a starburst.
- The white of the eye needs to be blended to resemble a sphere shape. Never just leave this area (the sclera) white.
- The lashes on the upper lid come together to make a dark edge called the lash line.
- The upper eyelid recesses, making the eyeball take on a sphere shape.
Now let’s start to draw an eye:
Follow the steps:
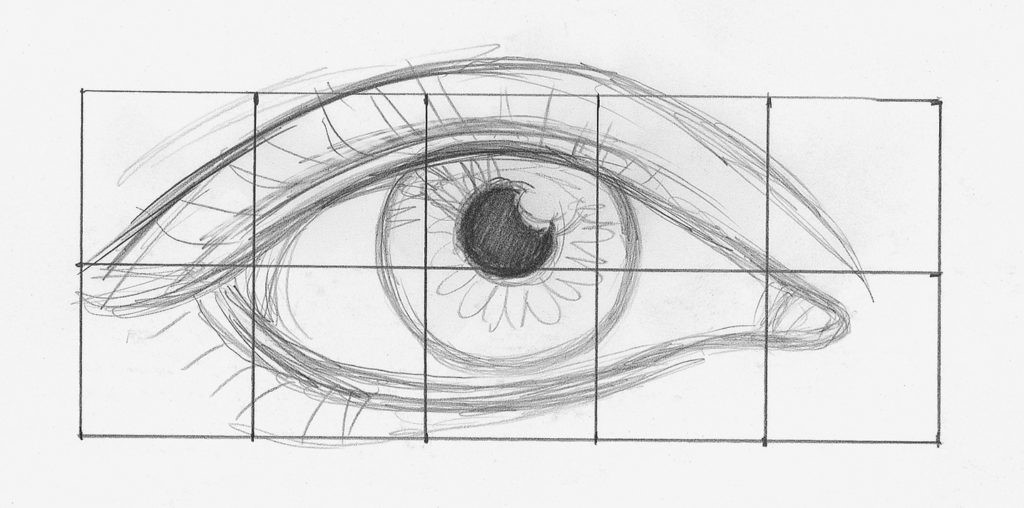
1. Create a Line Drawing
Use the grid method and a mechanical pencil to crate a line drawing of an eye.
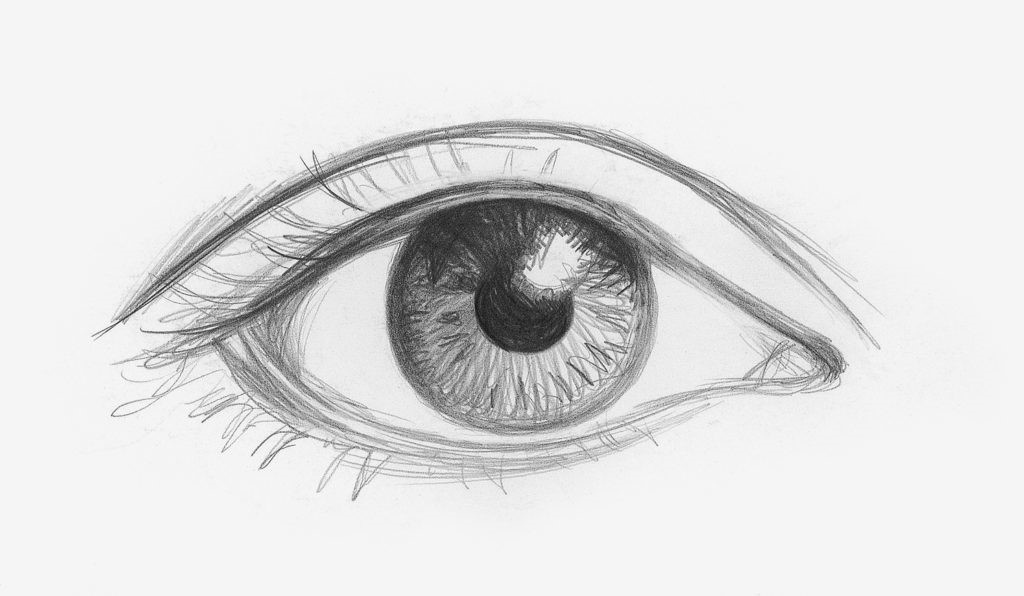
2. Lay in the Patterns and Blend
When you are sure of your accuracy, carefully remove the grid lines with a kneaded eraser. Lay in the patterns of the iris with a pencil. Use pencil lines that resemble a starburst pattern or wagon wheel spokes.
Leave an area open for the catch light (half in the pupil and half in the iris). Blend things smooth with a tortillion. Use a kneaded eraser to lift the catch light and increase the patterns in the iris.
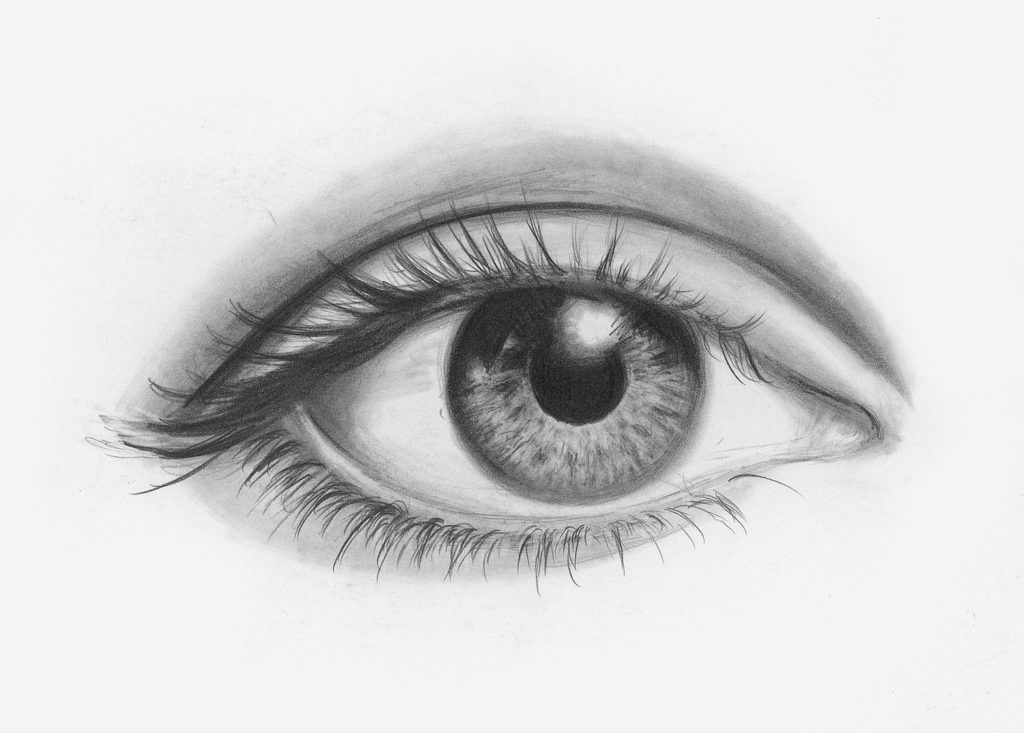
3. Continue Blending and Shading, Add Eyelashes
Blend the skin areas of the drawing to create the form and contours. Shade the white of the eye to make it look rounded like a sphere.
Add the eyelashes with very quick strokes that taper at the ends. They grow in layers and clumps, so do not make them go all along in a row.
Notice how the lashes on the bottom grow from the lower edge of the lower lid thickness. You can see how much dimension the lower lid thickness gives to the look of the eye.
Once you learn the anatomy of the eye and how to draw it realistically, it is important to understand how to put two of them together along with other facial features like the nose. Here are some guidelines to remember:
- The space between the eyes is one eye width.
- Both eyes should be directly across from each other.
- If you draw a vertical line down from the corner of the eye, it will line up with the edge of the nose. (This can change according to different ethnicities.)
- Both eyes must be looking in the same direction. The pupil and iris must be the same in both.
- Place the catch light in the same place on both eyes (half in the pupil, half in the iris).
applied.
Hope you learned how to draw all the facial features and they were easy for you so you can follow the next big step which is to draw a portrait!
