On the last weekend, me and my friend were so bored and don’t know what to do. So i looked online and i found a cute funny recipe to make, you might see it good for kids, but i like how they look and i think it is fun to make them. 🙂
Sadly, i did’t take any pictures of what we made of the octopus but i think that’s good because they didn’t look good as in the pictures because we didn’t have all the ingredients to make but it was fine and it tastes good.However, i’m sure i’ll make it again sometime and will have all the ingredients to look and taste good too and shall i’ll take pictures. 🙂

Get the Octopus Cake Pop Recipe!
What You’ll Need:
- Your favorite cake recipe, baked in a 9×13 pan (will yield about 40 cake pops)
- Frosting (canned, homemade buttercream, or homemade cream cheese)
- Food processer, stand mixer, or large bowl and spoon
- 1- to 1-1/2 tablespoon cookie scoop
- Cookie sheet lined with waxed paper
- Colored candy coating wafers
- 10 lollipop sticks
- White chocolate candies
- Sandwich bag
- Black edible ink pen
Instructions:
Start with your favorite flavor of cake. You can use a box mix or bake it from scratch. To make 10 cake pops, just use one-fourth of a 9×13 cake. Break up the cake and discard any hard bits from the edges. Add in 2 tablespoons of frosting.
Mix the frosting and the cake together with your food processor. There should be no visible cake and no frosting lumps. The mixture should be smooth — not sticky, gummy, or dry.
Using your cookie scoop, measure out your cake balls. Roll the cake balls smooth between your palms. Your hands should remain clean of frosting while rolling. Once they are done, place them on the cookie sheet lined with waxed paper, cover them, and put them into the refrigerator while you melt your candy coating wafers.
Tip: If the dough cracks while rolling, you need to add a little more frosting. If it’s soft and mushy you need to add a little more cake.

Melt your candy coating wafers according to the package directions. Microwave the coating for 1 minute on high, stir, then put back in the microwave for 45 seconds at 70 percent power. You do not want to overheat the candy or chocolate — just keep stirring until it all melts.
Remove the cake balls from the refrigerator. Dip 1/4 inch of a lollipop stick into the melted candy coating and insert it halfway into the cake ball. Repeat for each cake ball. Before moving on to the next step, make sure the candy coating has hardened completely.

Gently dip your cake pop straight up and down in the smooth, melted candy coating. Tap off the excess coating from the cake pop and attach the white chocolate candies for eyes. Place the cake pop on the waxed paper-lined baking sheet with the stick up to dry. Repeat with the remaining cake pops.

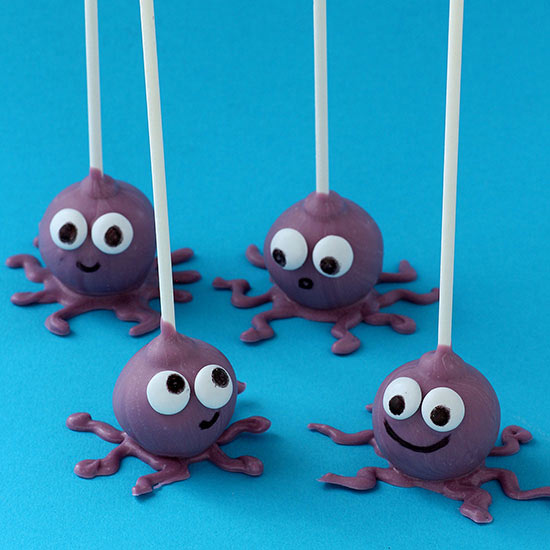
Pour 1/3 cup of the melted candy coating into a sandwich bag and snip off a tiny corner of the bag. On a sheet of waxed paper (it can be the same waxed paper you used for the cake pops), pipe a dot with four squiggly lines on the left and right sides to make octopus legs. Stand the cake pop in the center of the legs and hold in place until it starts to harden to prevent it from falling over. Complete all legs and octopi.
Add any facial details with your edible ink pen — have fun with it!
https://www.bhg.com/recipes/desserts/cakes/octopus-cake-pops/

ahaha, these are so fun!! I’m not much a baker, so that would probably not turn out so cute, but it’s a fun idea!
LikeLike
these are so cute!!
LikeLike
These are too cute and cake pops are my favorite because they are so easy to eat!
LikeLike
These look and sound amazing! I’ve always loved cake pops but I’ve never made any.
LikeLike
These look amazing! Can’t wait to try it out
LikeLike